

Hello hello. Here's a brief demo on how to integrate a php workflow with Bootstrap 4. Bootstrap 4 is a great framework to build off of because 1) a lot of the heavy lifting is already done for us, 2) it uses a great, responsive grid system, and 3) it's pretty dang fast. We're going to use PHP to make it even faster. Just keep in mind, we need to use this in a server environment. You'll either need to push files live via ftp or use a local development server like MAMP or WAMP.
Why use PHP?
PHP will help us keep our files clean and organized. Also, if we reference a single php file from multiple pages, it allows us to make one edit instead of 20 if we need to make a change to something. It also expands the capabilities of our website, like allowing for contact forms.
How it Works
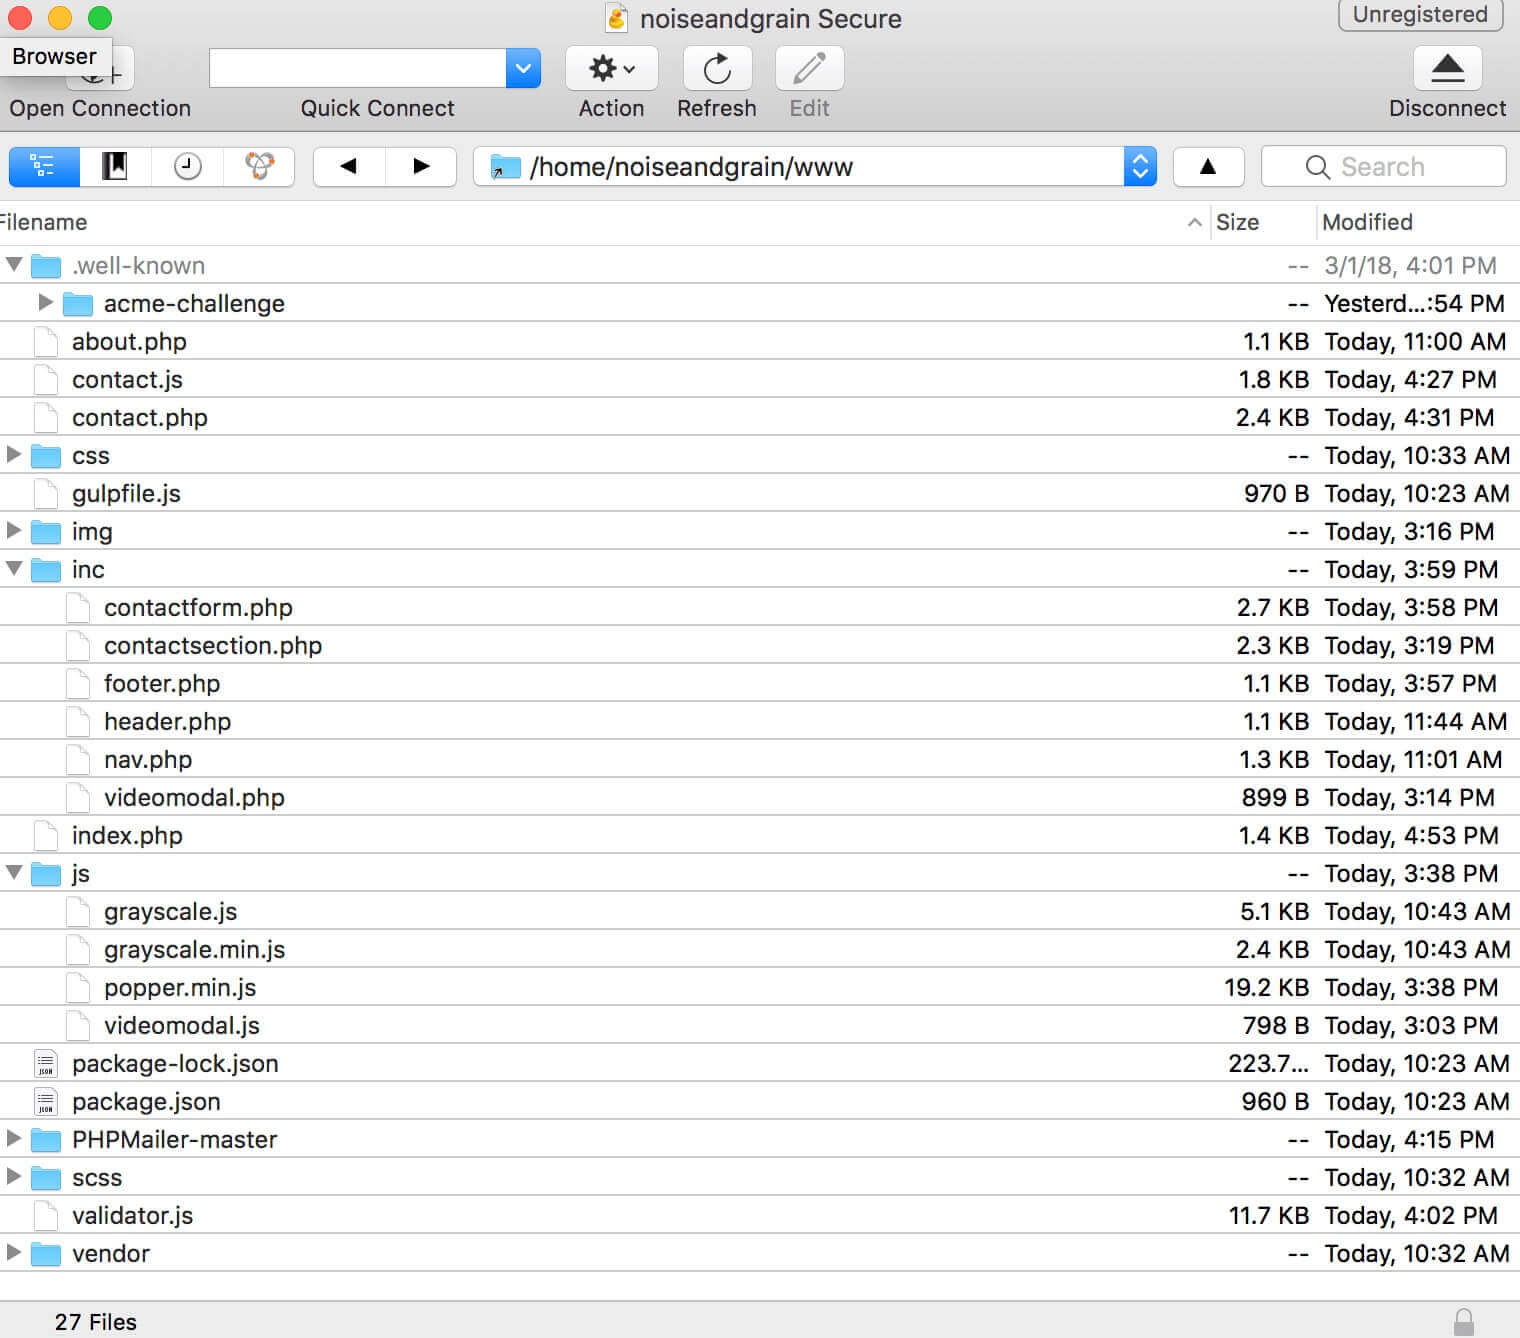
Instead of using pages like index.html, we're going to use index.php. From here, we'll call a bunch of "parts" from a /inc/ file path. We'll use the following components in this tutorial.
- index.php
- about.php
- inc/header.php
- inc/nav.php
- inc/contactsection.php
- inc/contactform.php
- inc/footer.php
Header.php
This is where all the opening stuff will happen in your website. This is where you declare the doctype, link your stylesheets, call google analytics, and start the body tag.
Setting Up a Navigation System
Before we start, we want to be able to tell the navigation file what page we're currently viewing. We can set the name of each page by placing the following line of code in every page file (index.php, about.php, etc).
<?php $page = "home" />
This creates a variable $page and sets it to "home".
Now, inside our nav.php file, we can create our menu system like we would any other normal HTML document. The only thing that we'll really do differently is with our active menu styling. We want to visually tell the user which menu item is currently active and style that in our CSS differently than the other menu items. Normally we would do this on a page by page basis, but since we're operating out of one PHP file for the entire site's navigation, we're going to have to call a php function. This is where that $page variable comes into play.
 <div class="collapse navbar-collapse" id="navbarResponsive">
  <ul class="navbar-nav ml-auto">
    <li class="nav-item >
      <?php echo ($page == "home" ? "active" : "")?>
      <a hrefLang={'en-US'} class="nav-link" href="/">Home</a>
    </li>
    <li class="nav-item <?php echo ($page == "about" ? "active" : "")?>
    ">
      <a hrefLang={'en-US'} class="nav-link" href="/about.php">About</a>
    </li>
  </ul>
</div>
This function says "If the current $page is set to "home", add the class .active to this li. Pretty straight forward. Now we can customize the .active class in our stylesheet.css.
.active{
    border-bottom: 1px white dotted !important;
}
Creating a Contact Section
Okay, so let's say we have a section that we want to use repeatedly throughout the site. For this example, let's add a Contact Us section to our site. We want the contact section on both the home page and the about page, so it makes sense to create a new contactSection.php and have our pages reference that file. That way, if we want to swap out a phone number or form field, we can just do it once in the contactSection.php instead of editing all of our pages.
Here's a really good guide that walks you through the steps to put a contact form on your Bootstrap 4 site. We need to use some Javascript, PHP, as well as HTML to get it up and running. This is a great example of how we can A) nest php and also B) nest bootstrap columns.
The guide is pretty straight forward, but I'll go ahead and take the classes they use for their forms and add them to our stylesheet.css. You'll need to style these yourself, but it provides a good working example. I'll also get the mailer.php file set up in the demo file.
I want to create two big columns. I want a blurb and some social links on the left, and a contact form on the right. Here's how we're going to lay it out:
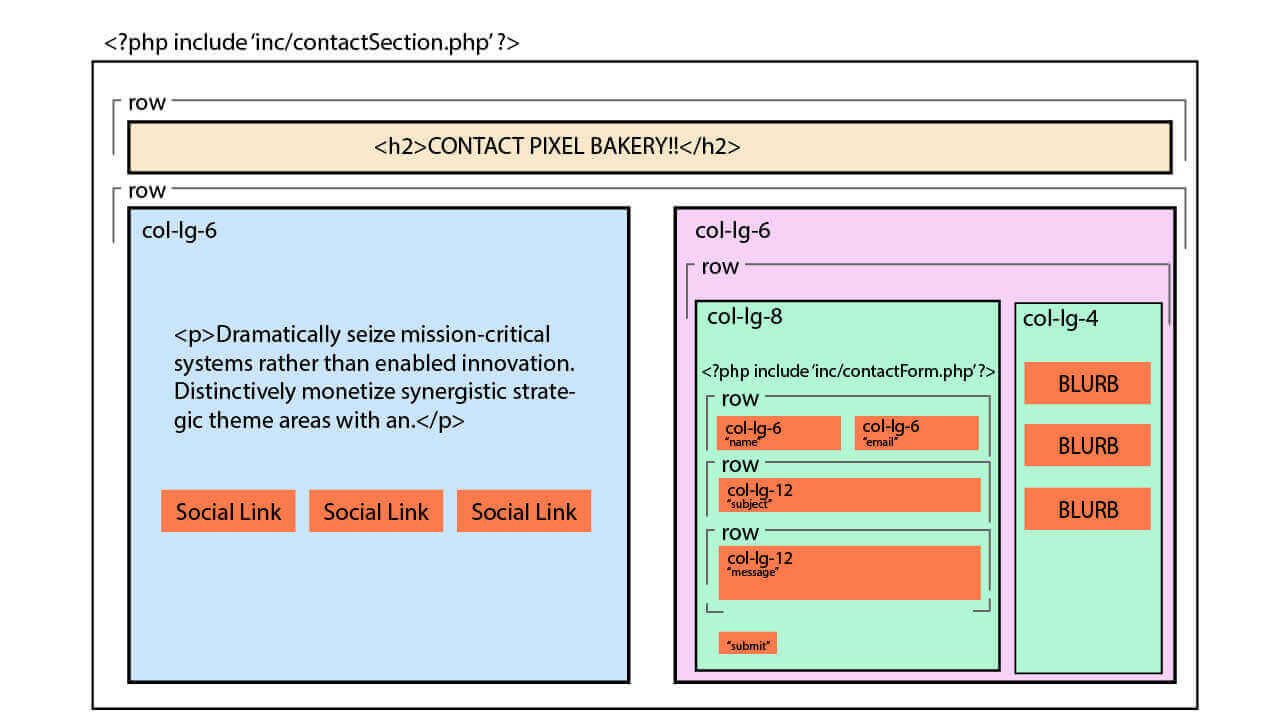
We're going to next the actual contact form in it's own php file to save space. We'll call that php file from contactSection.php, and then we'll call ContactSection.php from index.php.
The Footer
Another neat thing we can do since we're using php is make sure our copyright is automatically always the correct year. This avoids tackiness.
<footer>
  <div class="container text-center">
    <p>Copyright © Noise and Grain <?php echo date("Y"); ?> </p>
  </div>
 </footer>
Conclusion
PHP is dope. Use it. Bootstrap 4.0 is dope. Use that too. Make cool things faster.
Update: March 12th, 2019
How to remove .php, .html, .htm extensions with .htaccess
I prefer getting rid of the .php extensions on all of my websites that I design. I think it looks cleaner and is easier to navigate. Alex Cican has a great article on the subject that goes further in depth, but here's the gist.
We need to create / modify something called a .htaccess file. This is a configuration file that helps tell your web server how to operate.
-
If you don't already have a .htaccess file, create one. Note: the period at the beginning of the file name indicates that it is, by default, a hidden system file. You may have to check a box in your FTP client's preferences to see it. Another note: these can be written on subdomains.
-
Drop the following code into the file:
RewriteEngine On
RewriteCond %{REQUEST_FILENAME} !-f
RewriteRule ^([^/]+)/$ $1.php
RewriteRule ^([^/]+)/([^/]+)/$ /$1/$2.php
RewriteCond %{REQUEST_FILENAME} !-f
RewriteCond %{REQUEST_FILENAME} !-d
RewriteCond %{REQUEST_URI} !(\.[a-zA-Z0-9]{1,5}|/)$
RewriteRule (.\*)$ /$1/ [R=301,L]
-
Test it. This code should redirect website.com/link.php to website.com/link/
-
That's literally it.